About
Current blog post is going to describe how to use mix from various technologies in order to establish a static HTML blog that is auto-generated from the markdown files by means of the Python's package Pelican and finally hosted in the SAP HANA Cloud's git repository.
The mixure of the technologies that are going to be using in this article are following:
- Python 2.7
- Very popular and widely used high-level programming language
- Pelican 3.5.0
- This is of the the python packages that is able to generate static html pages from markdown
- Markdown
- Simple to write and read format, that became a kind of a standard for simple writing rotines
- SAP HANA Cloud
- The trial version will be use, if you don't have one, you can easily get it after easy registration
- Git
- You can install client if you don't have one from here
- GitHub
- Very popular service for version control of your source code
Here is the short overview of upcoming steps. First of all, the empty HTML5 Application should be created in the SAP HANA Cloud. Then this newly created application should be downloaded (in terms of git it should be "cloned"). After cloning SAP HANA Cloud repository, the secondary GitHub repository should be merged into the SAP HANA Cloud's one and changes should be uploaded (in terms of git "committed") to the SAP HANA Cloud's repository and later on activated.
Creating Empty HTML5 Application
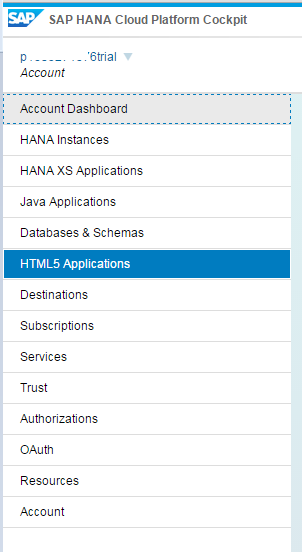
After getting to the SAP HANA Cloud cockpit select from the main menu on the left "HTML5 Applications" (as it's shown on the image).
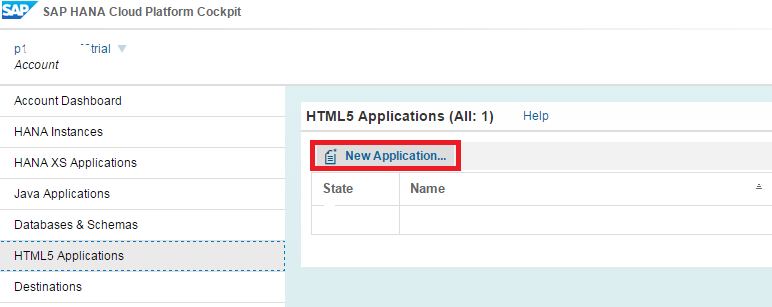
Then go and create new HTML5 application by selecting "New Application", as it's shown on the image.
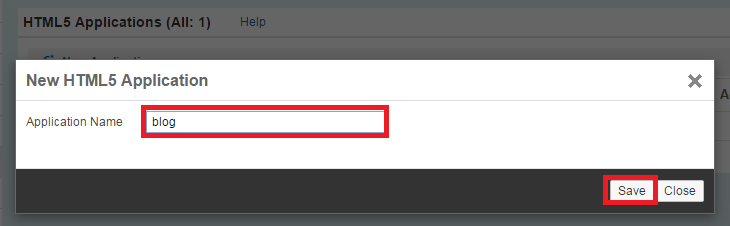
Give an name to the new application that you are creating. For instance, I gave a simple name "blog". After setting the name to a value of your choice, click save button.
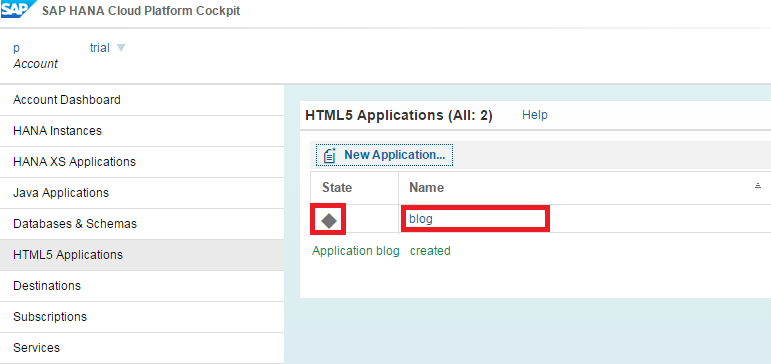
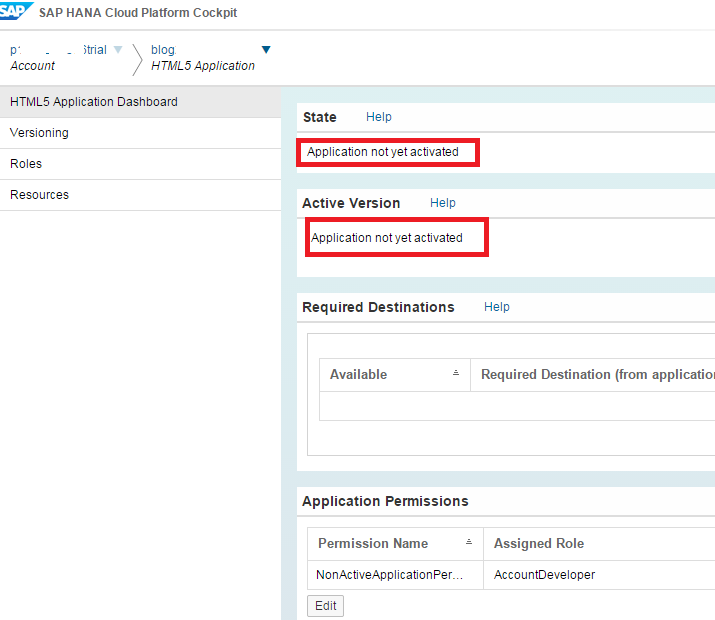
Congratulations, you just created your own HTML5 application inside SAP HANA Cloud. Now you should see something similar to the image below. I want to stress, that you "only" created application and it's not running for a moment, to run it, you will need to set a version to your commit from git and after only that you will be able to see rendering page in you browser. It will be demonstrated later on.
Navigate to your newly created application by click it's name. For a moment, you should see something similar to the image below. The image is telling you that the application is not yet activate.
After navigate to sub-menu titled "Visioning", you will see following important for us fields (see the image below) Git Repository Url and Actions
The URL that is shown to you under the title Git Repository Url will be used later on for the communication between you local git repository and remote repository hosted on SAP HANA Cloud.
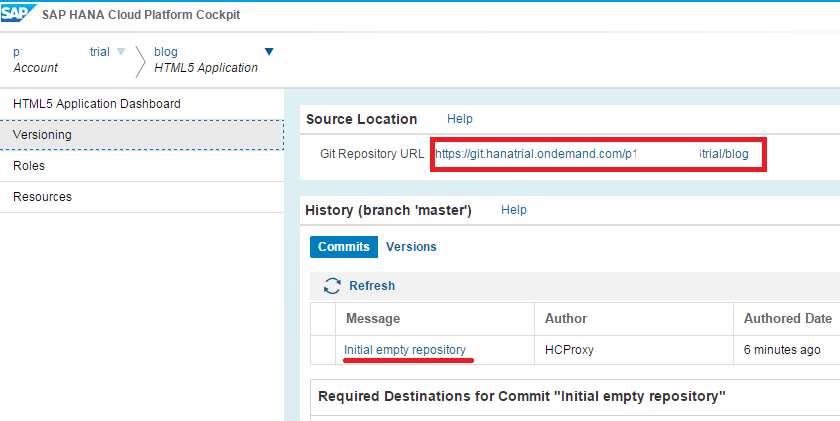
Menu option Actions is very important to make SAP HANA Cloud understand which exactly version of the repository to render (activate or run). Without setting version to your particular commit, the button that make application run won't be even enabled.

Cloning Created HTML5 Application on Computer
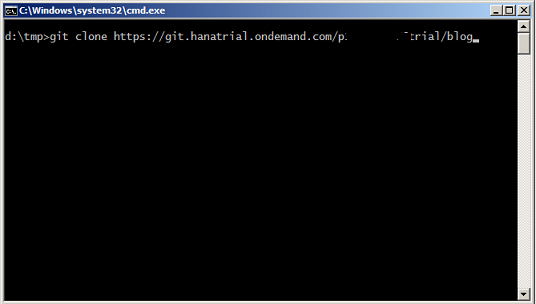
After creating the first commit (that was actually created automatically by the system) you need to copy Git Repository Url and run command line utility (Windows: cmd, Linus: bash or similar). Before cloning git repository that was created inside SAP HANA Cloud, you need to have git client to be installed on your computer. You can downloed one from http://git-scm.com/. Open you terminal, navigate to the directory where you would like to clone recently created repository and type following command (don't forget to replace Your Git Repository Url with your own one):
git clone <Your Git Repository Url>
You terminal should look like on the image below.
The git server will ask you to type in your credentials, you have to use the the same credentials you used to authorize yourself inside SAP HANA Cloud Cockpit (the same one your are using for scn.sap.com). Image below demonstrates how it should look like.

After creating git clone of your repository from SAP HANA Cloud, you can start working with it. Basically, you can upload any web related files (HTML, CSS,JS, etc.).
For this particular example I used Python 2.7, it's Pelican 3.5.0 package and Markdown as a main text format for writing the blog posts. To process furher you will need to install Python 2.7, Pelican 3.5.0 and it's dependencies in order to be able to generate statis HTML files from markdown. Here you can find ready GitHub repository with all necessary configurations, scripts and detailed descriptions of it's usage. In order to merge two Git repositories (GitHub and SAP HANA Cloud one) use a simple techniques - keep the SAP HANA Cloud's Git as a main one, and GitHub as a secondary one. Here is how I did it (don't forget to open your terminal):
# clone the SAP HANA Cloud repository
git clone https://git.hanatrial.ondemand.com/<YOUR-SAP-HANA-CLOUD-USER-ID>/blog
cd blog

# adding additioanl git repostiry from github
# the name of the repository is github
git remote add github https://github.com/vdmitriyev/saphanacloud-static-blog-example.git

# downloading repository from github
git pull -u github master

# uploading github repository to the SAP HANA Cloud
git push -u origin master
Setting a Version to One of Your Git Commits
If you followed order of git command above at the end you will be able to see at your SAP HANA Cloud's HTML5 Application the pre-generated html blog from the GitHub repository. However, the committed and pushed to the SAP HANA Cloud's git changes won't be available in the browser until you will specify the exact version of the commit to be published.
Navigate to the HTML5 application and select 'Visioning'. After the main working panel will load, click on the to the icon located in the 'Action' column and set desired version (as and example I set '0.0.1'), as it shown on the image below.
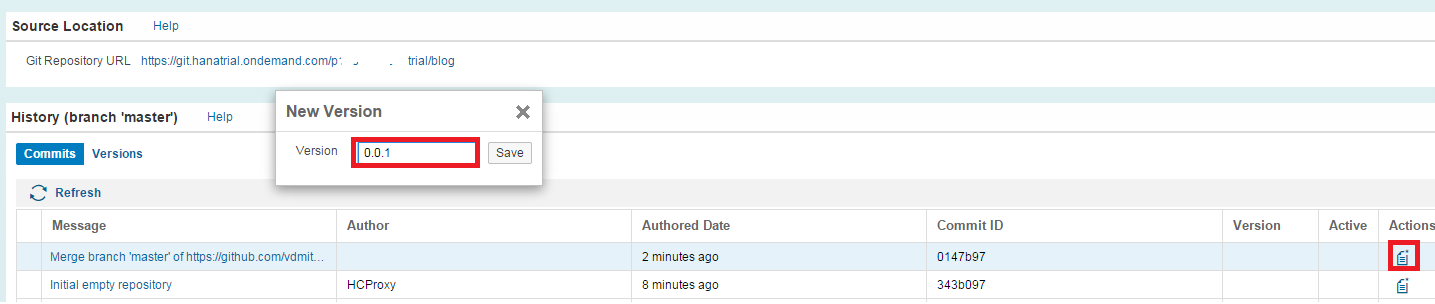
After setting the version you should see that the column 'Version' is poiting to the version you just set.

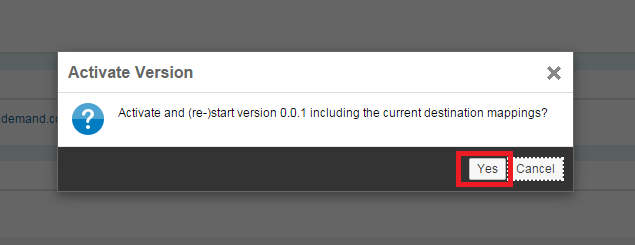
To activate your newly make version, click on the icon in the 'Action' column again and confirm your choice.
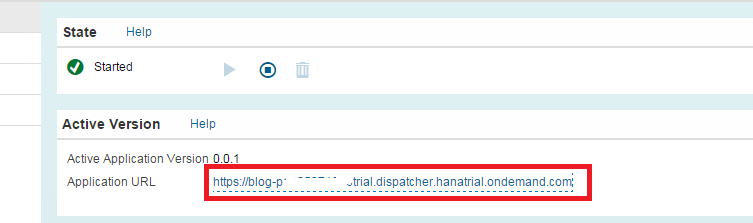
Now go to the "HTML5 Application Dashboard" and follow offered URL as it shown on the image below.
Your final result should look like this.
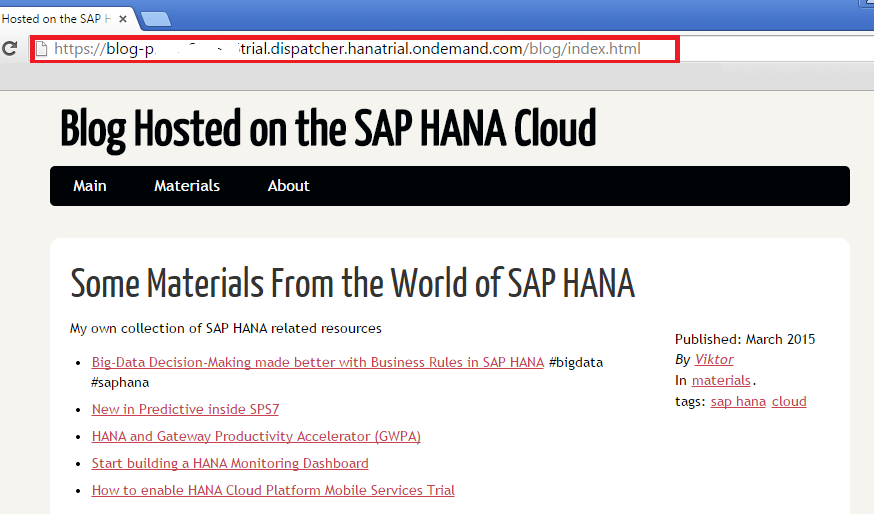
Congratulation!
If you succeeded in accomplish all the mentioned above steps, you should some sort of blog as it shown above. Now you can keep writing your blog posts in markdown, compile them into static HTML with help of Python package Pelican and host your blog in the SAP HANA Cloud. The description of the process how to work with Python and it's Pelican package was left out from this blog and can be found inside previously mentioned GitHub repository here.
Read more: